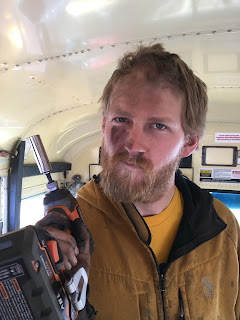
Once all the seats came up, there was still a lot to do before we could rip out the floor. Our bus was built to transport kids in wheel chairs-- so, there were wheelchair mounts on the floor. Most of the bolts on the mounts were rusted to the floor, unable to budge with a drill. We took an industrail shaver thing to it and just shaved the head on the bolt right off. Awesome, yet time consuming. Our buddy Helia helped us out and let us barrow his tools. (Thank you thank you).
After all the bolted seats, mounts, and randomly placed bolts were lifted from the floor, we were finally able to rip the rubber floor and subfloor off the base metal. Also easier said than done. Here is a picture of that process getting started:
We even pulled up the heater element and the front seat to replace the sub floor.
To get things done, you got to get dirty...


